Sharing is caring!
The Perfectly Juicy and Tender Pork Ribs: Discover the Secrets to Oven Roasting at 425°F
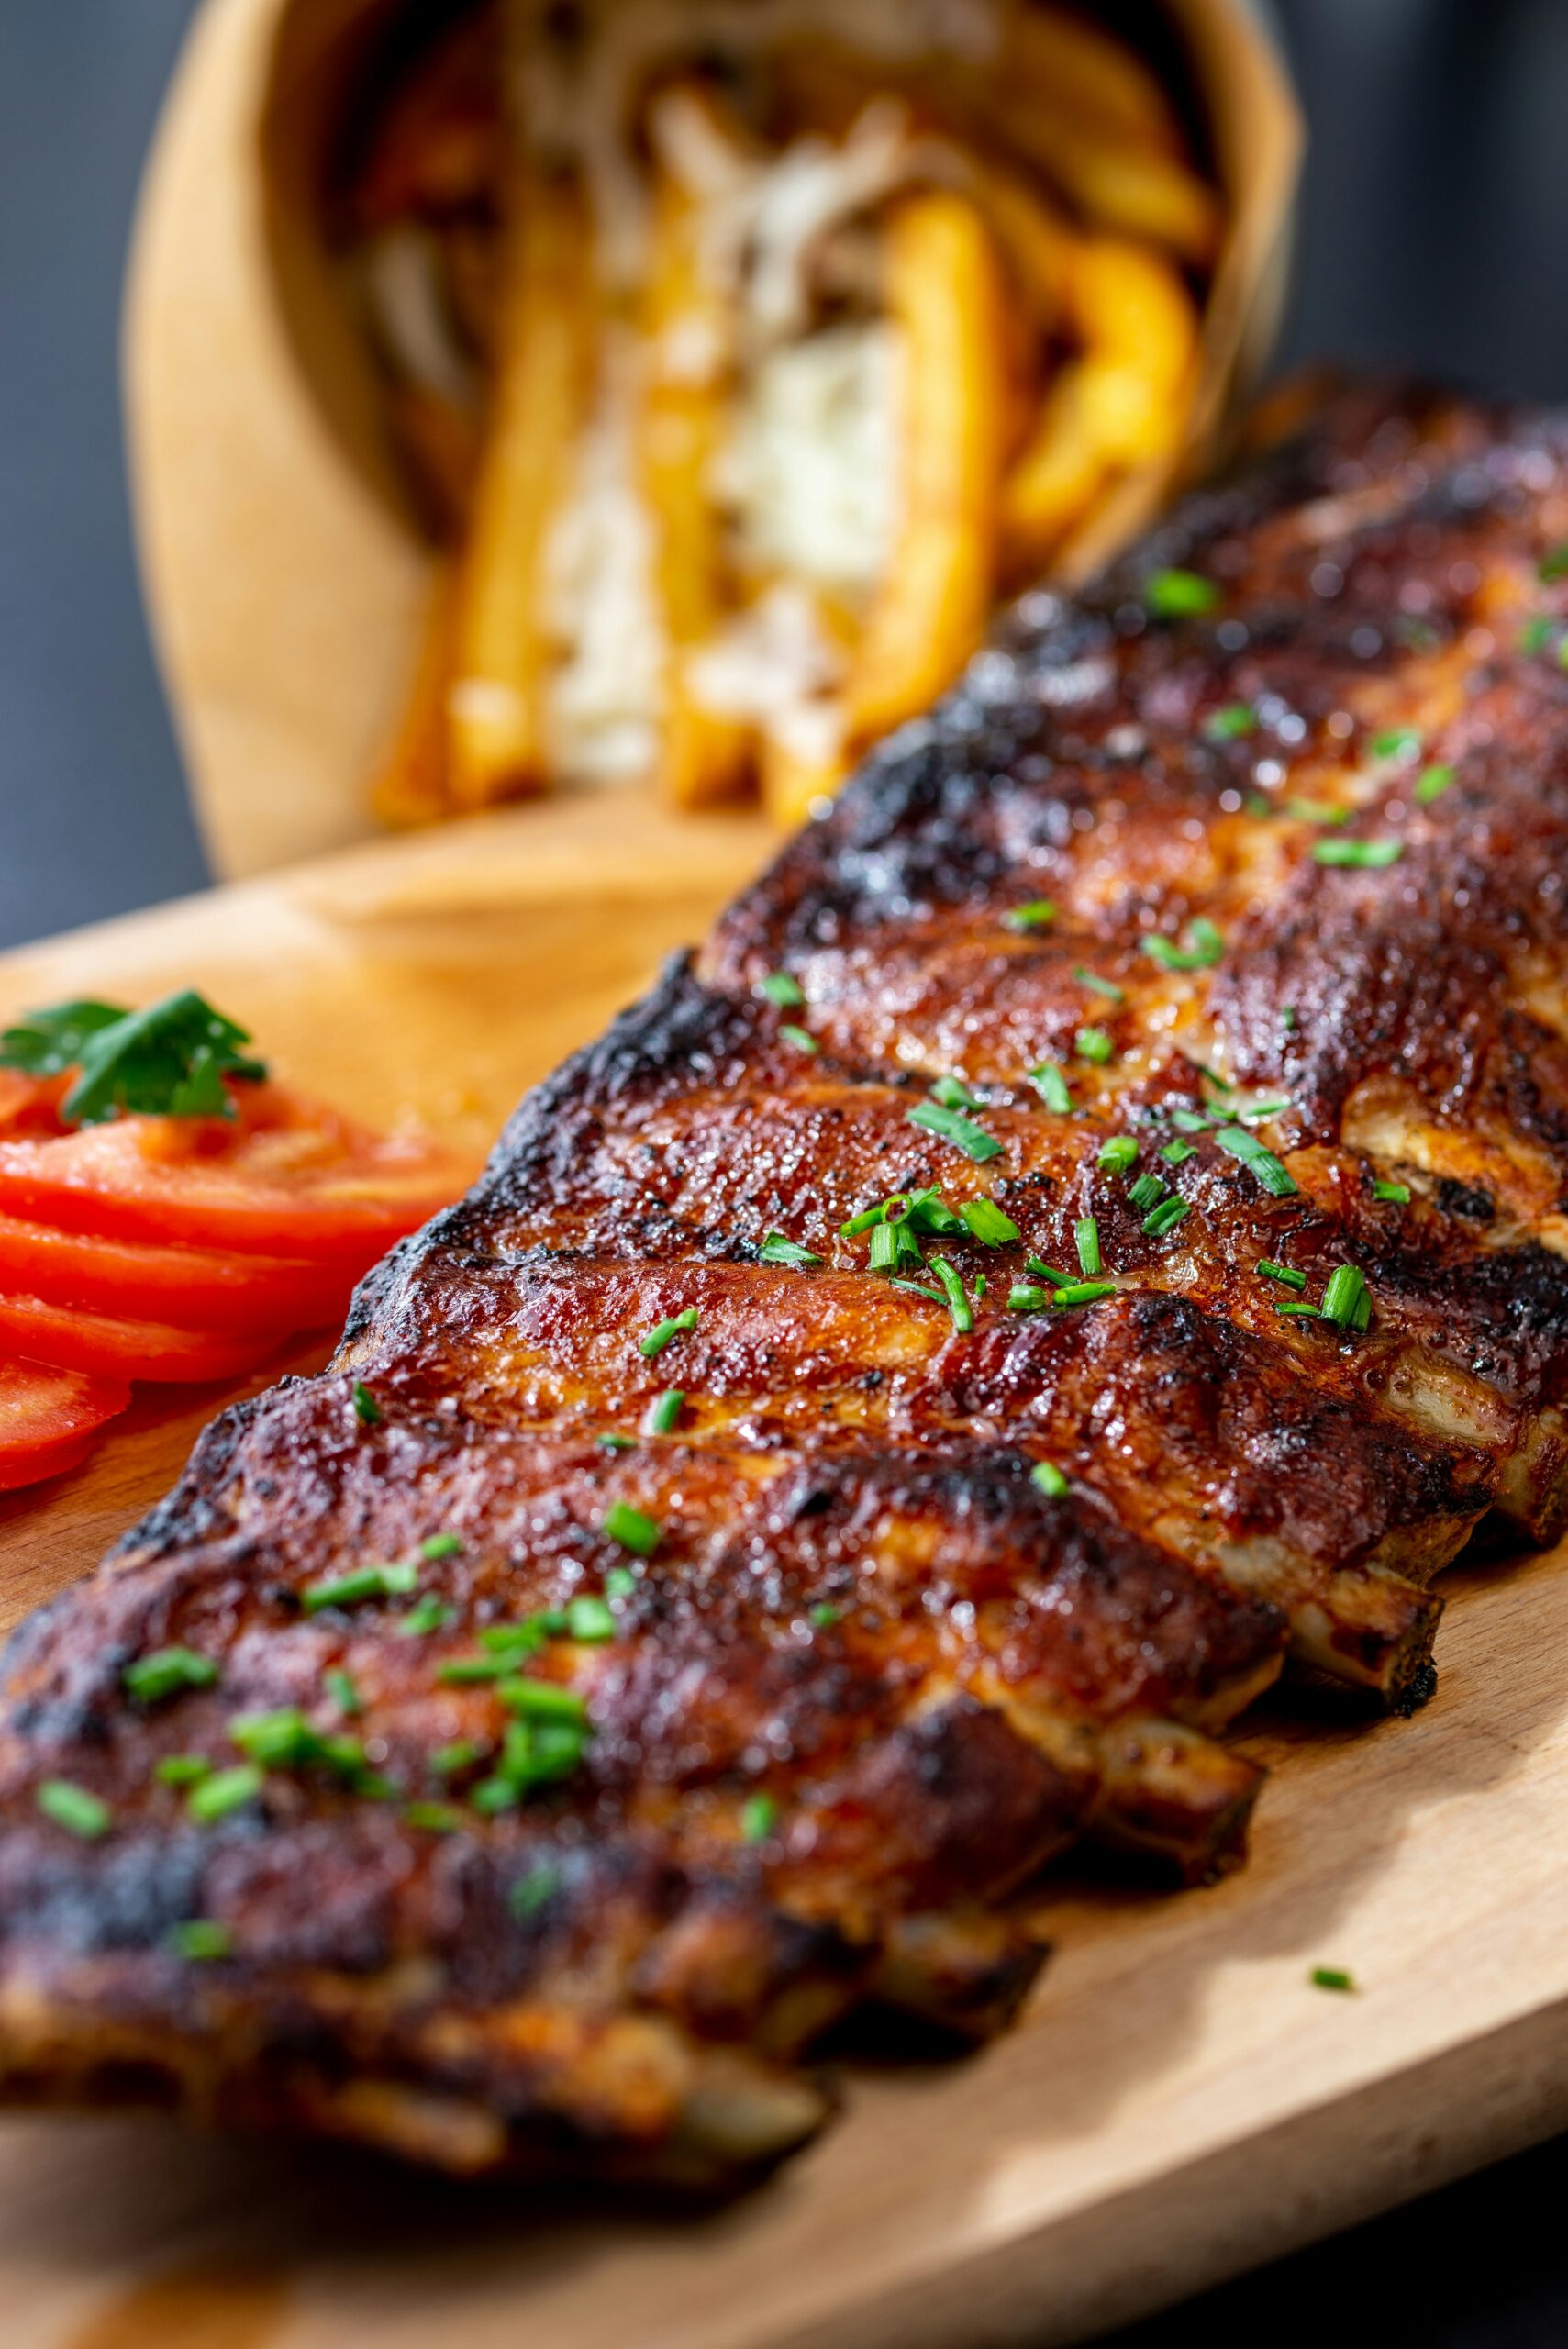
Who doesn’t like fall-off-the-bone ribs? Let’s unlock the secrets to achieving perfectly tender results through oven roasting at 425°F. The oven’s high temperature will work magic, creating succulent ribs with a caramelized crust and tender meat that effortlessly falls off the bone.
Whether you’re a seasoned chef or a cooking novice, I’ve covered you. Our step-by-step guide will walk you through the entire process, from selecting the suitable racks of ribs to marinating, seasoning, and finally roasting them to perfection. We’ll share insider tips and techniques to ensure you achieve that desired balance of flavors and textures.
These oven-roasted pork ribs will become a go-to recipe if you love finger-licking barbecue goodness. They’re perfect for family dinners, backyard gatherings, or game-day feasts. So get ready to impress your guests with melt-in-your-mouth ribs that will leave them asking for seconds. Let’s get cooking and transform your kitchen into a pork rib paradise.
Why Oven Roasting is the Perfect Method for Juicy and Tender Pork Ribs
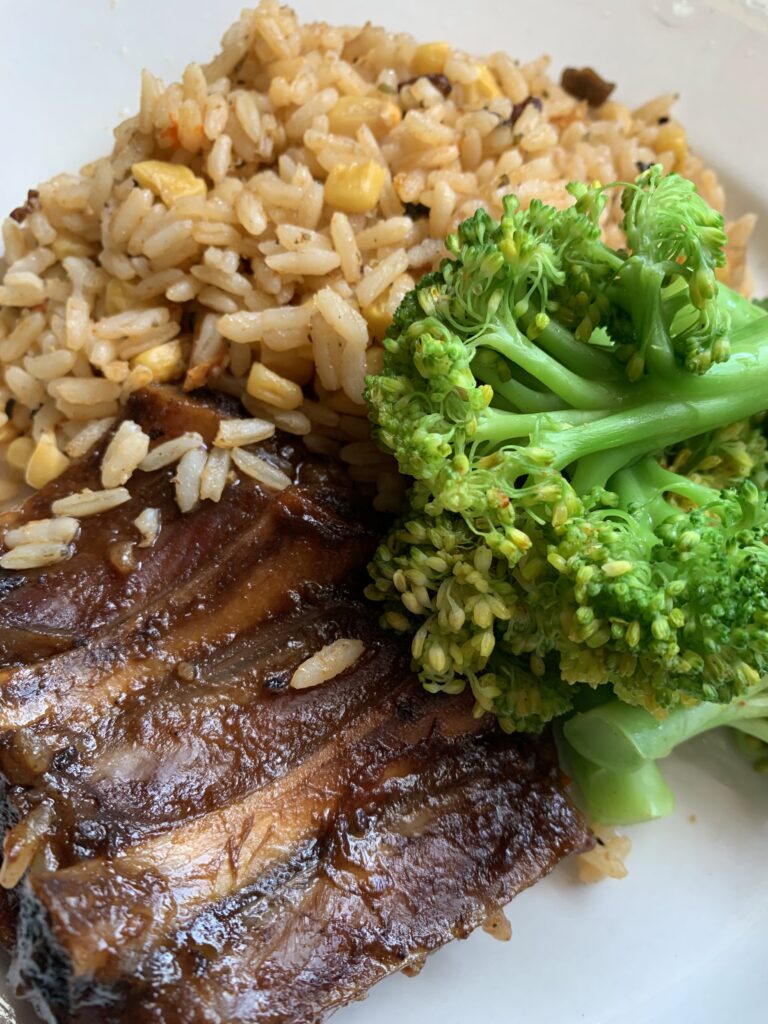
Oven roasting is an excellent method for achieving juicy and tender pork ribs. The high temperature of the oven, set at 425°F, helps break down the meat’s collagen, resulting in tender ribs that practically fall off the bone. Unlike grilling or smoking, oven roasting allows for precise temperature control, ensuring even cooking. Additionally, the oven’s dry heat promotes the development of a delicious caramelized crust on the ribs. So, let’s dive into the secrets behind oven-roasted pork ribs.
To begin, selecting suitable rib racks for oven roasting is crucial.
Selecting the Right Pork Ribs for Oven Roasting
When choosing the best pork ribs for oven roasting, the two main options are baby back ribs and spare ribs. Baby back ribs are cut from the top of the rib cage, near the backbone, and are known for their tenderness and mild flavor. Spare ribs, conversely, come from the lower portion of the rib cage and have more meat, fat, and connective tissue. They offer a rich, robust flavor but may require slightly longer cooking times for optimal tenderness.
When selecting pork ribs, look for racks that have an excellent meat-to-bone ratio and are evenly trimmed. Avoid ribs with excessive fat or those that are overly dry. Freshness is also essential, so choose ribs with a bright pink color and avoid any with a strong odor.
Preparing the Pork Ribs for Oven Roasting
Before roasting, it’s essential to prepare the pork ribs properly. Start by removing the membrane from the bone side of the ribs. This membrane can be tough and chewy, so removing it allows the flavors to penetrate the meat more effectively. To remove the membrane, gently slide a butter knife or your fingers under the membrane at one end of the rack. Once you have a good grip, peel it off the ribs smoothly. If the membrane is stubborn, use a paper towel to get a better grip.
After removing the membrane, pat the ribs dry with paper towels. This step ensures that the seasonings adhere well to the meat and helps to create a delicious crust during roasting. Once the ribs are dry, proceed to the next critical step—seasoning and marinating.
Seasoning and Marinating Tips for Flavorful Pork Ribs
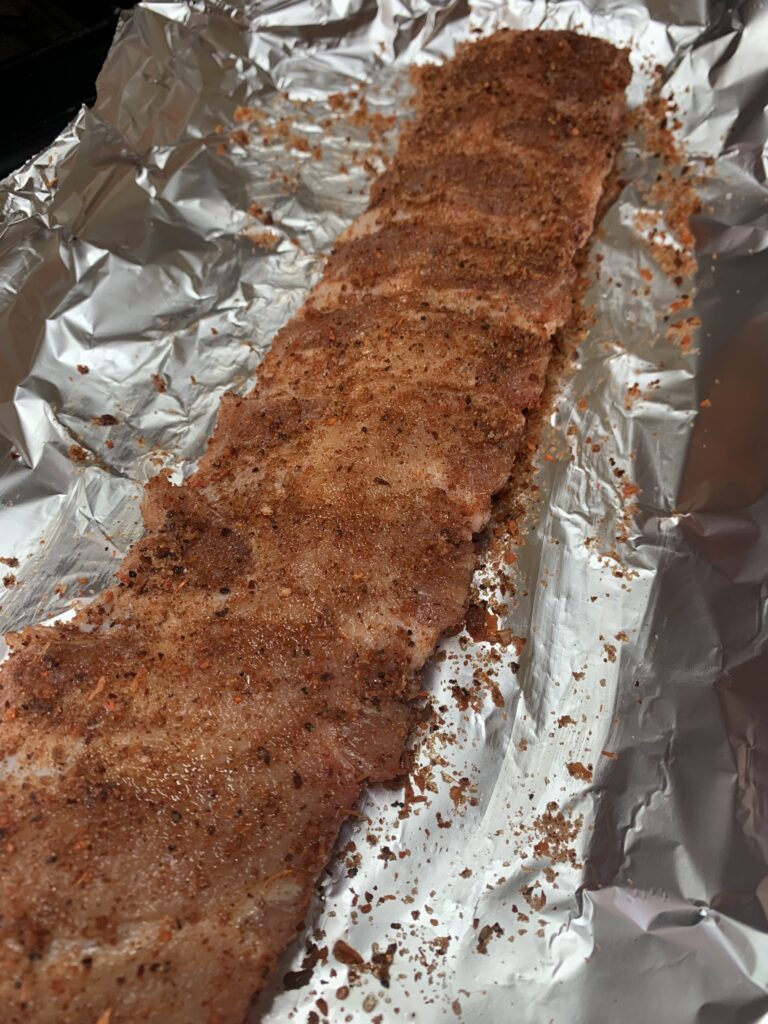
Seasoning and marinating are essential steps in creating flavorful pork ribs. The endless possibilities for seasonings and marinades allow you to customize the flavors. A great starting point is a classic dry rub combining spices, such as paprika, garlic powder, onion powder, brown sugar, salt, and black pepper. Feel free to experiment with additional herbs and spices to create your signature rub.
To apply the dry rub, generously sprinkle it over both sides of the ribs, gently pressing it into the meat. Cover the ribs evenly, ensuring every bite is packed with flavor. Once the dry rub is applied, it’s best to let the ribs sit in the refrigerator for at least 2 hours or overnight for even more flavor development. This allows the seasonings to penetrate the meat and infuse it with deliciousness.
If you prefer a wet marinade, use your favorite barbecue sauce, soy sauce, honey, fruit juices, and spices. Whichever marinade you choose, coat the ribs thoroughly and let them marinate for at least 4 hours, or overnight if possible. The longer the marinating time, the more flavorful and tender the ribs.

The Importance of Proper Temperature and Timing in Oven Roasting
Proper temperature and timing are crucial to achieve perfectly juicy and tender pork ribs. Preheat your oven to 425°F and allow it to reach the desired temperature before placing the ribs inside. This ensures that the ribs start cooking immediately at the optimal temperature, promoting even cooking and caramelization.
Once the oven is preheated, place the seasoned or marinated ribs on a wire rack inside a baking sheet or roasting pan. The wire rack elevates the ribs, allowing the heat to circulate evenly around them, resulting in perfectly cooked ribs. It also allows any excess fat to drip away, preventing greasy, soggy ribs.
1. Preheat your oven to 425°F and let it reach the desired temperature.
2. Remove the membrane from the bone side of the ribs.
3. Pat the ribs dry with paper towels.
4. Apply a generous dry rub or coat the ribs with your marinade.
5. Let the ribs sit in the refrigerator for at least 2 hours or overnight.
6. Place the seasoned or marinated ribs on a wire rack inside a baking sheet or roasting pan.
7. Roast the ribs in the oven for approximately 2 to 2.5 hours, or until the meat is tender and the internal temperature reaches 190°F.
8. Optional: During the last 15 minutes of cooking, brush the ribs with your favorite barbecue sauce for an extra layer of flavor.
9. Once cooked, remove the ribs from the oven and let them rest for 10-15 minutes before slicing and serving.
To achieve a caramelized and flavorful crust on your pork ribs, follow these tips:
– Use a dry rub with spices and brown sugar to enhance the caramelization.
– Allow the ribs to roast undisturbed for most of the cooking time to develop a crispy exterior.
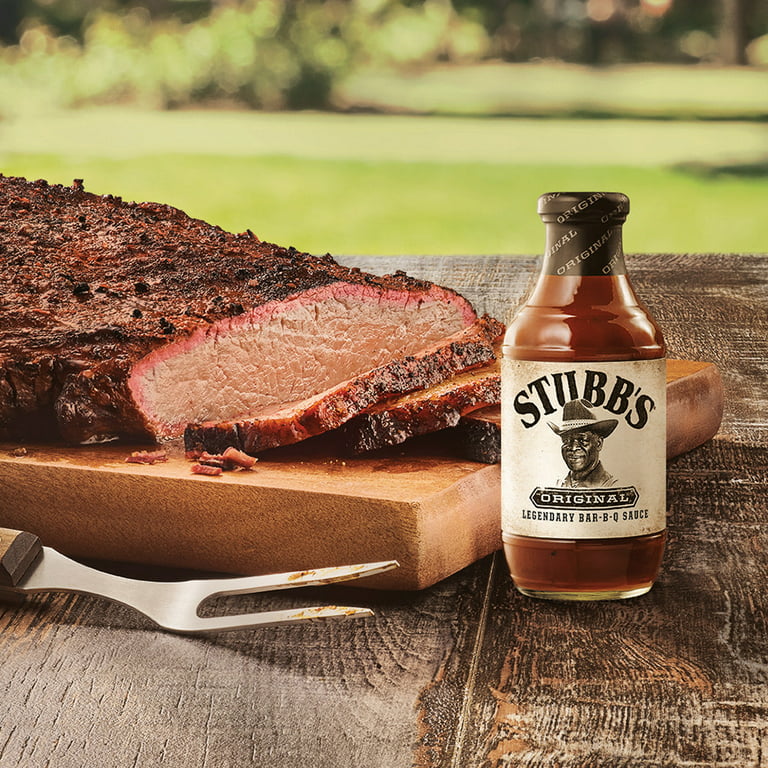
– For an extra layer of flavor, brush the ribs with your favorite barbecue sauce during the last 15 minutes of cooking.
– If desired, broil the ribs for a few minutes at the end of cooking to achieve a slightly charred and crispy crust.
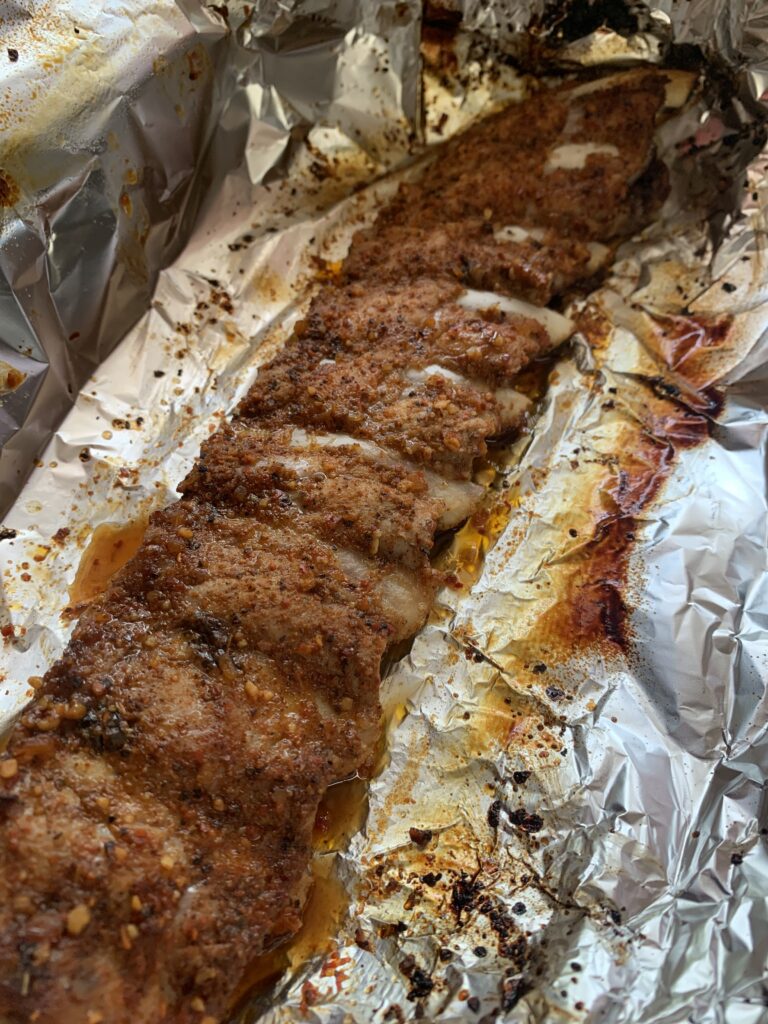
After roasting, it’s crucial to let the ribs rest for 10-15 minutes before slicing and serving. This resting period allows the juices to redistribute throughout the meat, resulting in a more flavorful and moist result. Cover the ribs loosely with foil during this time to retain their warmth.
When serving, slice the ribs between the bones and arrange them on a platter. Garnish with fresh herbs, such as parsley or cilantro, for a pop of color. For a complete and satisfying meal, serve the ribs alongside your favorite sides, such as coleslaw, cornbread, or mashed potatoes.
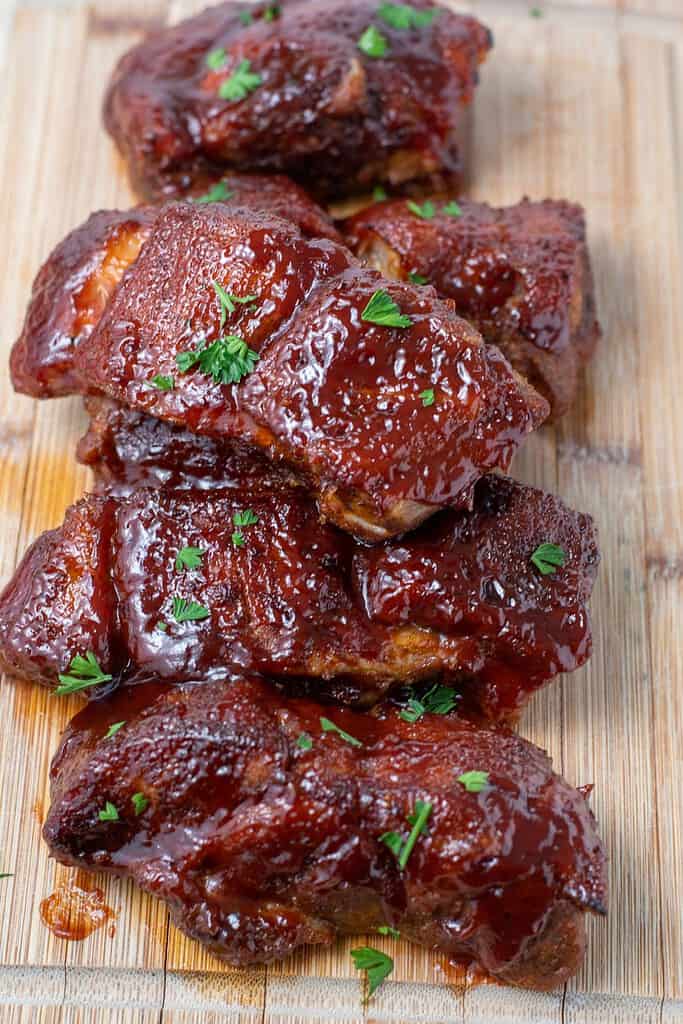
Conclusion: Mastering the Art of How long to cook Pork Ribs in oven at 425
In conclusion, oven roasting at 425°F is the secret to achieving perfectly juicy, fall-off-the-bone ribs. From selecting the right racks of ribs to preparing, seasoning, and roasting them to perfection, each step plays a crucial role in creating the ultimate flavor and texture. Following our step-by-step guide and incorporating our insider tips, you’ll soon master the art of oven-roasted pork ribs.
So why wait? Gather your ingredients, preheat your oven, and embark on a culinary adventure that will leave your taste buds begging for more. Whether a casual family dinner or a special occasion, these mouthwatering ribs are guaranteed to impress your guests and make you the kitchen hero. Prepare to savor the succulent, fall-off-the-bone goodness that only perfectly roasted pork ribs can deliver. Happy cooking!
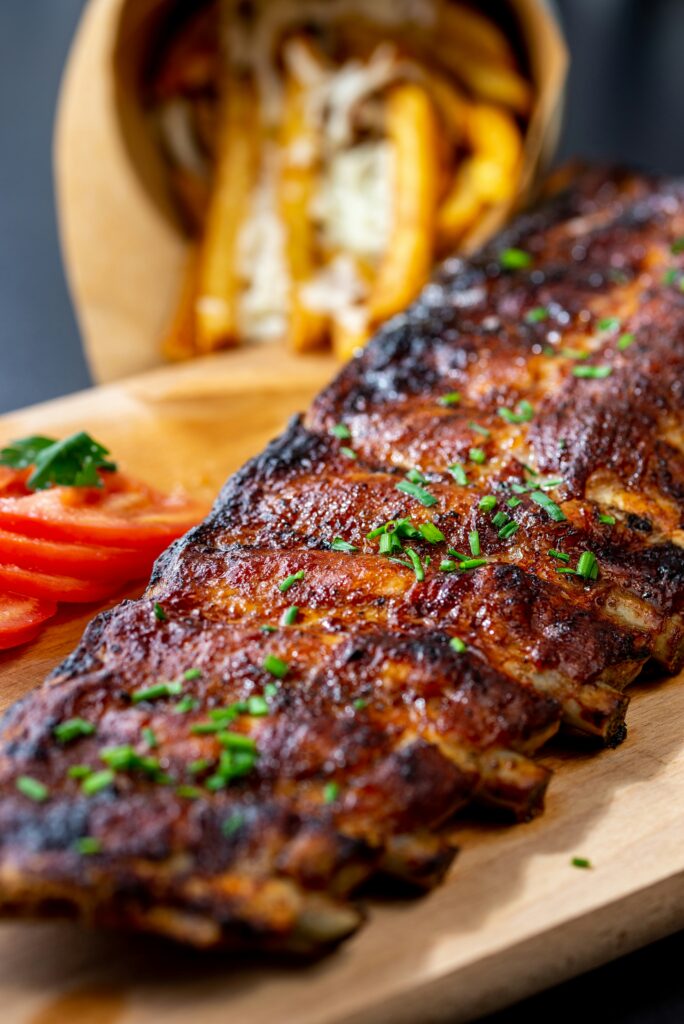
Guava BBQ Glazed Baby Pork Ribs with Spiced Dry Rub
- 21 May 2024
- 6
- 4 hr
- 400 Cals/Serving
- Print this
Ingredients
- For the Dry Rub:
- 2 racks of baby back pork ribs
- 2 tablespoons mesquite seasoning
- 1 tablespoon Tajin seasoning
- 2 teaspoons clove powder
- 1 teaspoon nutmeg
- 2 tablespoons brown sugar
- 1 tablespoon ginger powder
- 1 tablespoon seasoning salt
- For the Guava BBQ Sauce:
- 1 cup guava juice or ½ cup guava paste
- 1/2 cup ketchup
- 1/4 cup brown sugar
- 2 tablespoons apple cider vinegar
- 1 tablespoon Worcestershire sauce
- 1 teaspoon garlic powder
- 1 teaspoon onion powder
- Salt and black pepper to taste
Directions
- Step 1
- Prepare the Dry Rub:
- Step 2
- Combine the mesquite seasoning, Tajin seasoning, clove powder, nutmeg, brown sugar, ginger powder, and seasoning salt in a small bowl. Mix well to create the dry rub.
- Step 3
- Prepare the Ribs:
- Step 4
- Remove the membrane from the back of the ribs.
- Step 5
- Pat the ribs dry with paper towels.
- Step 6
- Rub the dry rub generously over both sides of the ribs, ensuring an even coating.
- Step 7
- Let the ribs marinate for at least 1 hour or overnight in the refrigerator for enhanced flavor.
- Step 8
- Preheat the Oven:
- Step 9
- Preheat your oven to 300°F (150°C).
- Step 10
- Bake the Ribs:
- Step 11
- Place the seasoned ribs on a baking sheet lined with aluminum foil, bone side down.
- Step 12
- Cover the ribs tightly with another sheet of aluminum foil to create a sealed packet.
- Step 13
- Bake in the oven for 2.5 to 3 hours or until the meat is tender and easily pulls away from the bones.
- Step 14
- Prepare the Guava BBQ Sauce:
- Step 15
- Combine guava juice, ketchup, brown sugar, apple cider vinegar, Worcestershire sauce, garlic powder, and onion powder in a saucepan. Bring the mixture to a simmer over medium heat.
- Step 16
- occasionally stirring, Cook the sauce for 10-15 minutes until it thickens to your desired consistency.
- Step 17
- Season the sauce with salt and black pepper to taste.
- Step 18
- Glaze the Ribs:
- Step 19
- Once the ribs are tender, carefully remove them from the oven.
- Step 20
- Increase the oven temperature to 400°F (200°C).
- Step 21
- Brush the guava BBQ sauce generously over the ribs, covering them completely.
- Step 22
- Return the ribs to the oven and bake, uncovered for 10-15 minutes, or until the sauce forms a sticky glaze.
- Step 23
- Serve:
- Step 24
- Allow the ribs to rest briefly before slicing between the bones.
- Step 25
- Serve the guava-glazed baby pork ribs with your favorite sides and enjoy the flavors!
Blog Post Recommendation


